Note: This is a student-submitted guide. Please comment or get in touch with me (Parker) for suggestions or clarification!
Intro
In this tutorial, you will learn how to make a simple third-person 3D camera view that “orbits” around the player with the mouse. For this we will also be using Unity’s new input system. I suggest having a read through the other tutorials prior to this as a beginner’s knowledge of scripting is recommended.
Part One – Setting Up Inputs
Ensure the Unity Input system is installed as explained in the other tutorials, and right-click > Create an Input Actions asset in your Assets panel. Create a new Action Map (if you have not got one already) called Gameplay, and rename the Action that was just created to Look. In the Properties panel on the right change the Action Type to Value and the Control Type to Any.

Press the arrow next to Look to show the Bindings for the action. Select the binding that should already be there and set its path to Delta [Mouse].

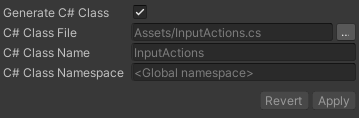
Click Save Asset at the top of the Input Actions editor window and close it. In the Inspector click Generate C# Class then click Apply.
Part Two – Setting the Scene
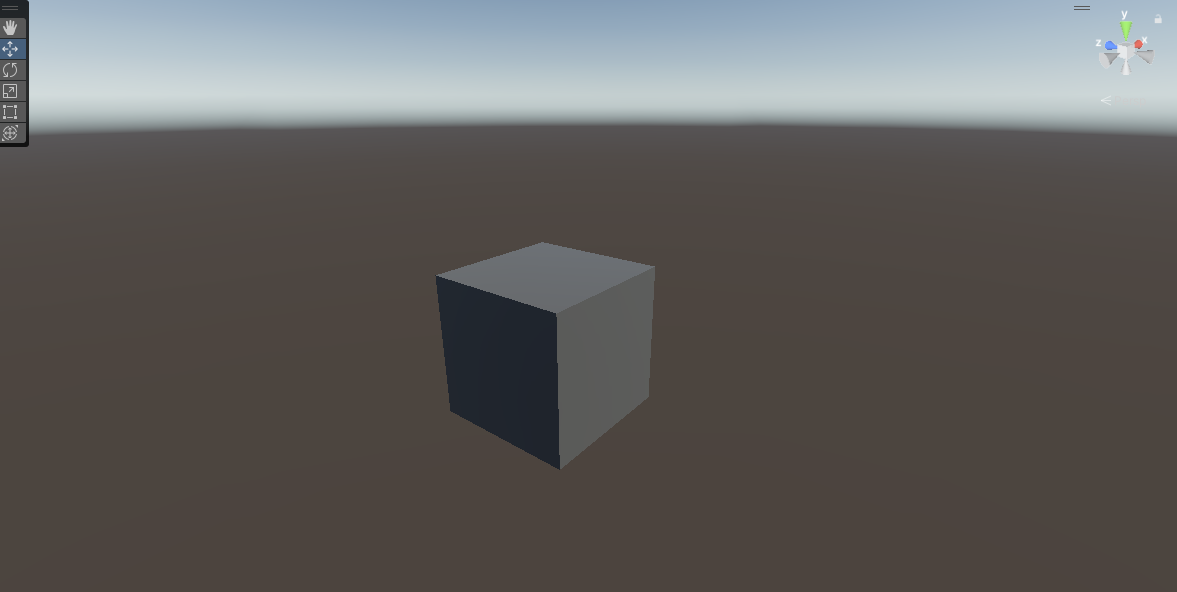
Now we will create the camera and the player character. In the Hierarchy panel right click and create a 3D Object that will be your player (if you haven’t created a 3D character already). Then create a Camera object. This should be all we need for now.
Part Three – Creating the Script
Create a new folder in your Assets folder called Scripts. Inside that, create a new C# Script and call it OrbitCamera.
Inside the script, we first start by declaring some private variables with the [SerializeField] prefix, so we can change them in the Editor whenever we want. These will be the target our camera looks at, the sensitivity of the camera (aka how fast it will orbit around responding to mouse movement), the radius at which the camera orbits, and how much camera smoothing is applied.

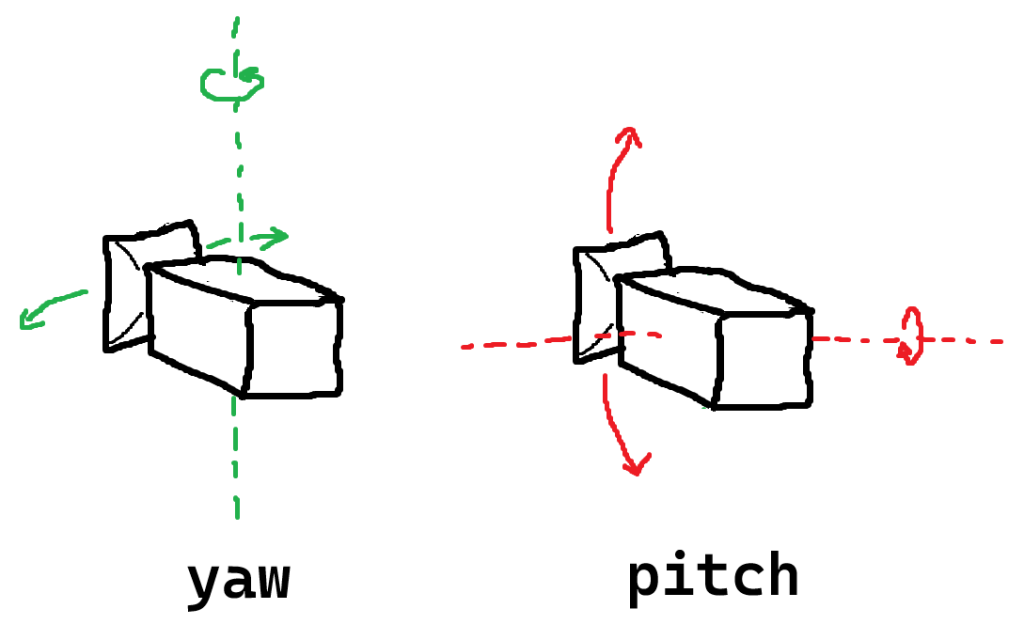
Now we declare two variables that will contain the yaw and pitch of the camera. This essentially means the angle the camera is pointing side-to-side and up-and-down respectively.
Also, include a variable called inputActions for our Input Actions asset.

In our Start method, we first set our yaw and pitch by getting the current rotation of the camera in the Y and X axis.

Then we set the inputActions variable to be our Input Actions asset.

Now we will create a method called Look, that is going to take the value from the Delta [Mouse] binding we made earlier (essentially how much the mouse has moved in the last frame) and move the camera accordingly.
First we make two local variables inside the method that are going to split the input into the X and Y parts of our mouse movement seperately.

Then, we change the yaw and pitch with them respectively, also including our sensitivity variable. Note here that I take mouseY away from the pitch, to make sure our camera pitches down when we move our mouse down.

Finally, we add the following line of code. This essentially smoothly moves (or linearly interpolates, if you wanna get technical) the camera’s current rotation to a new one, with our new pitch and yaw values. The rate at which this shift in rotation happens is based on our smoothing variable.

Now we have to add to our Update method to use the Look method we made. As the input for Look, read the value of our Look binding in the inputActions asset.
After that, we put in a line of code that uses the transform.forward variable to get the forward direction of whereever we’re looking at, and uses that to move the camera back from our target according to orbitRadius. We can now increase orbitRadius to “zoom out” away from our target. This must happen after you rotate the camera with the Look method!

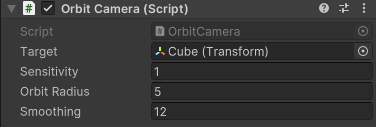
Save the script and add it to your Camera object. Drag the 3D character object we made earlier into the “Target” value under the script in the Inspector window, and adjust the values as you see fit. Here are mine for reference.
Now, run the game and see what happens!
You can now move the mouse to orbit around your object. However, if you keep moving it up you’ll see you can keep flipping around it, which isnt how a third-person camera usually works. We need some code to stop the pitch from getting too high or too low.
Part Four – Limiting the Pitch
Back in our OrbitCamera script, go back to the Look method. Right after we change our pitch variable and before doing the rotation, we insert a line of code that uses the Clamp method to ensure the pitch doesn’t go below or above a specified number. In this example we will limit it to 80 degrees maximum to stop the spinning, and 0 degrees minimum so it doesn’t go through the floor.

Save the script, press play and you’re done!
Now you should have a proper 3D orbit camera! More complex solutions with things like colliding with walls are also possible with packages like Cinemachine, but this works as a very simple solution for prototyping.
Final Code
Here is the finished code. WARNING: Please try to follow the tutorial first and not just copy-paste this! If you have not at least attempted to understand the code I will not provide any help or troubleshooting.
using System.Collections;
using System.Collections.Generic;
using UnityEngine;

public class OrbitCamera : MonoBehaviour
{
    [SerializeField] private Transform target;
    [SerializeField] private float sensitivity = 1f;
    [SerializeField] private float orbitRadius = 5f;
    [SerializeField] private float smoothing = 5f;

    private float yaw;
    private float pitch;

    private InputActions inputActions;

    // Start is called before the first frame update
    void Start()
    {
        yaw = transform.eulerAngles.y;
        pitch = transform.eulerAngles.x;

        inputActions = new InputActions();
        inputActions.Gameplay.Enable();
    }

    void Look(Vector2 mouseDelta)
    {
        float mouseX = mouseDelta.x;
        float mouseY = mouseDelta.y;

        yaw += mouseX * sensitivity;
        pitch -= mouseY * sensitivity;

        pitch = Mathf.Clamp(pitch, 0f, 80f);

        transform.rotation = Quaternion.Lerp(transform.rotation, Quaternion.Euler(pitch, yaw, 0), 1/smoothing);
    }

    // Update is called once per frame
    void Update()
    {
        Look(inputActions.Gameplay.Look.ReadValue<Vector2>());
        transform.position = target.position - transform.forward * orbitRadius;
    }
}